Update Keycloak User Attributes from Onelogin SAML Provider
The post describes how to configure Keycloak and Onelogin to update Keycloak User Attributes from the Onelogin SAML Provider
Do not forget to follow me on Twitter
Why the User Attributes are empty?
In my previous post I have described how to configure the Onelogin SAML Provider.
You may be ask yourself: “Why the User Attributes are empty? I have values in Onelogin but the in Keycloak values are empty.”
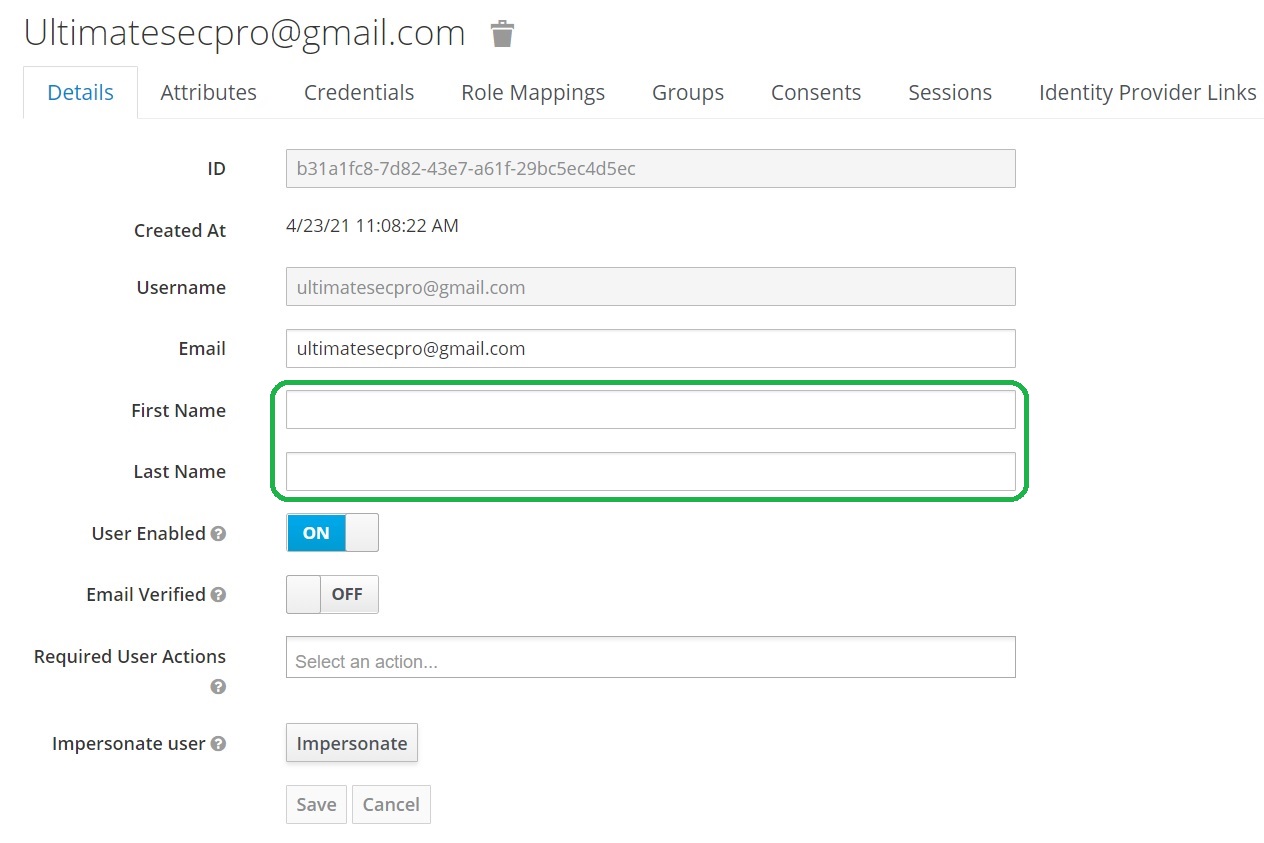
The answer is simple: You need to configure Onelogin to add the User Attributes to the SAML assertion and then you need to configure Keycloak to add these Attributes to the user.
Let’s do this.
Onelogin configuration
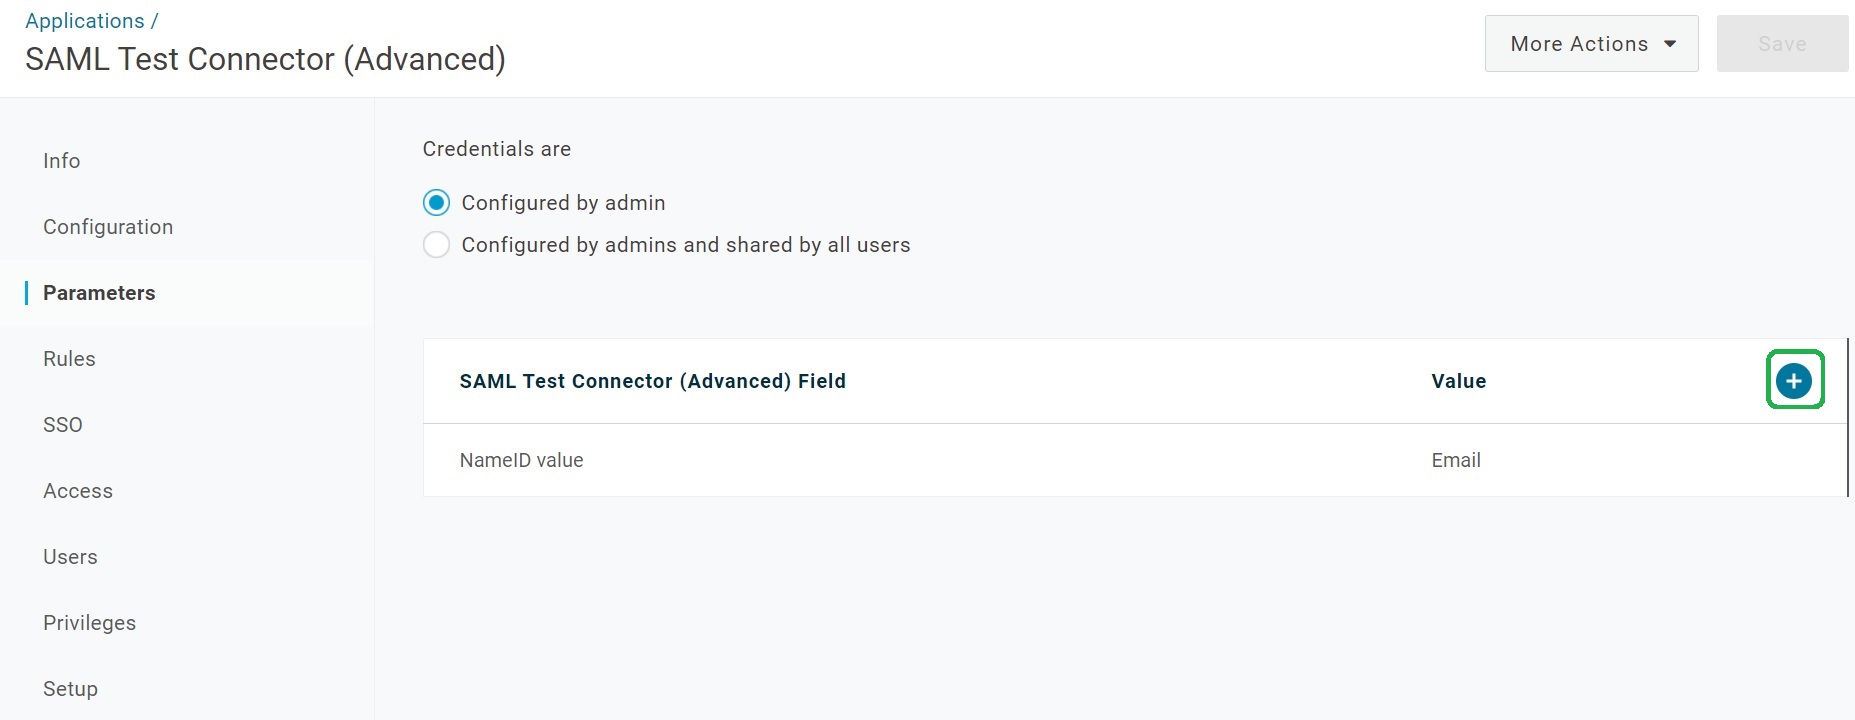
Open the Parameters tab and click on the + button.
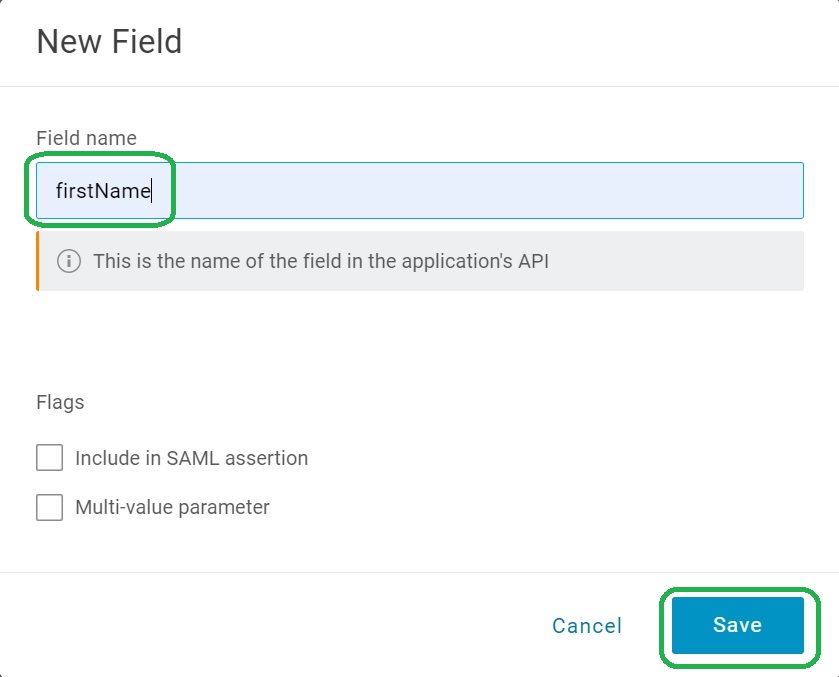
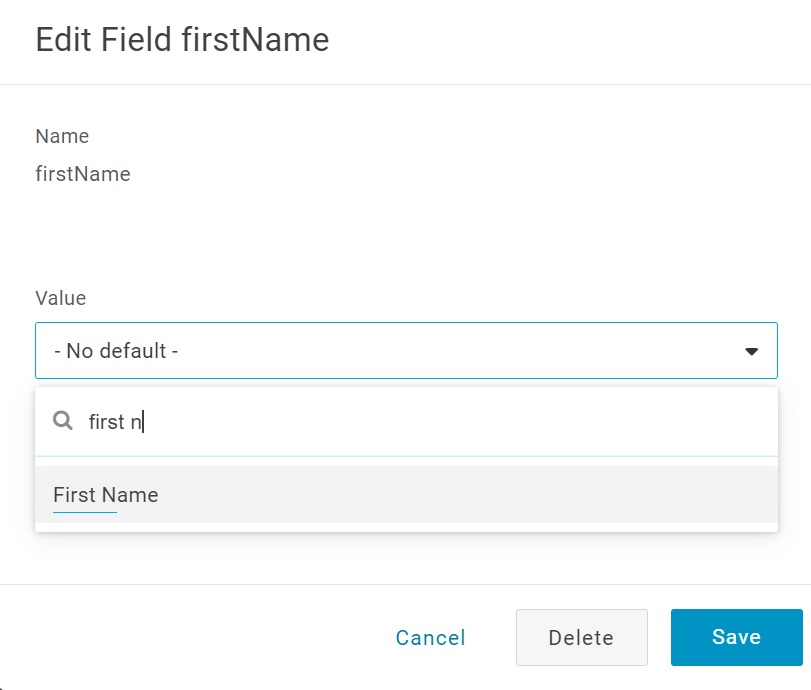
Type firstName in the Field name field and click Save.
Select First Name from the Value list:
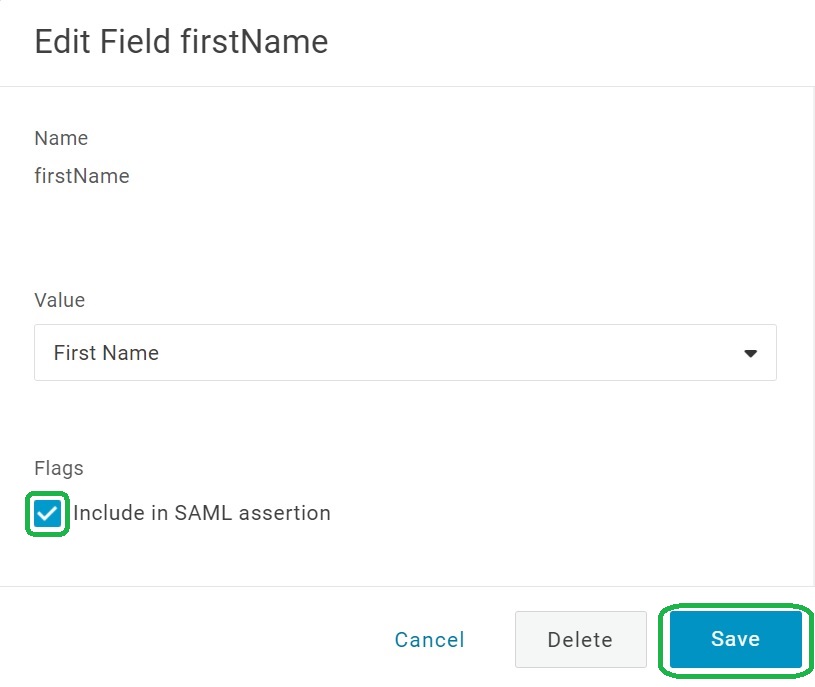
Check Include in SAML assertion and click Save.
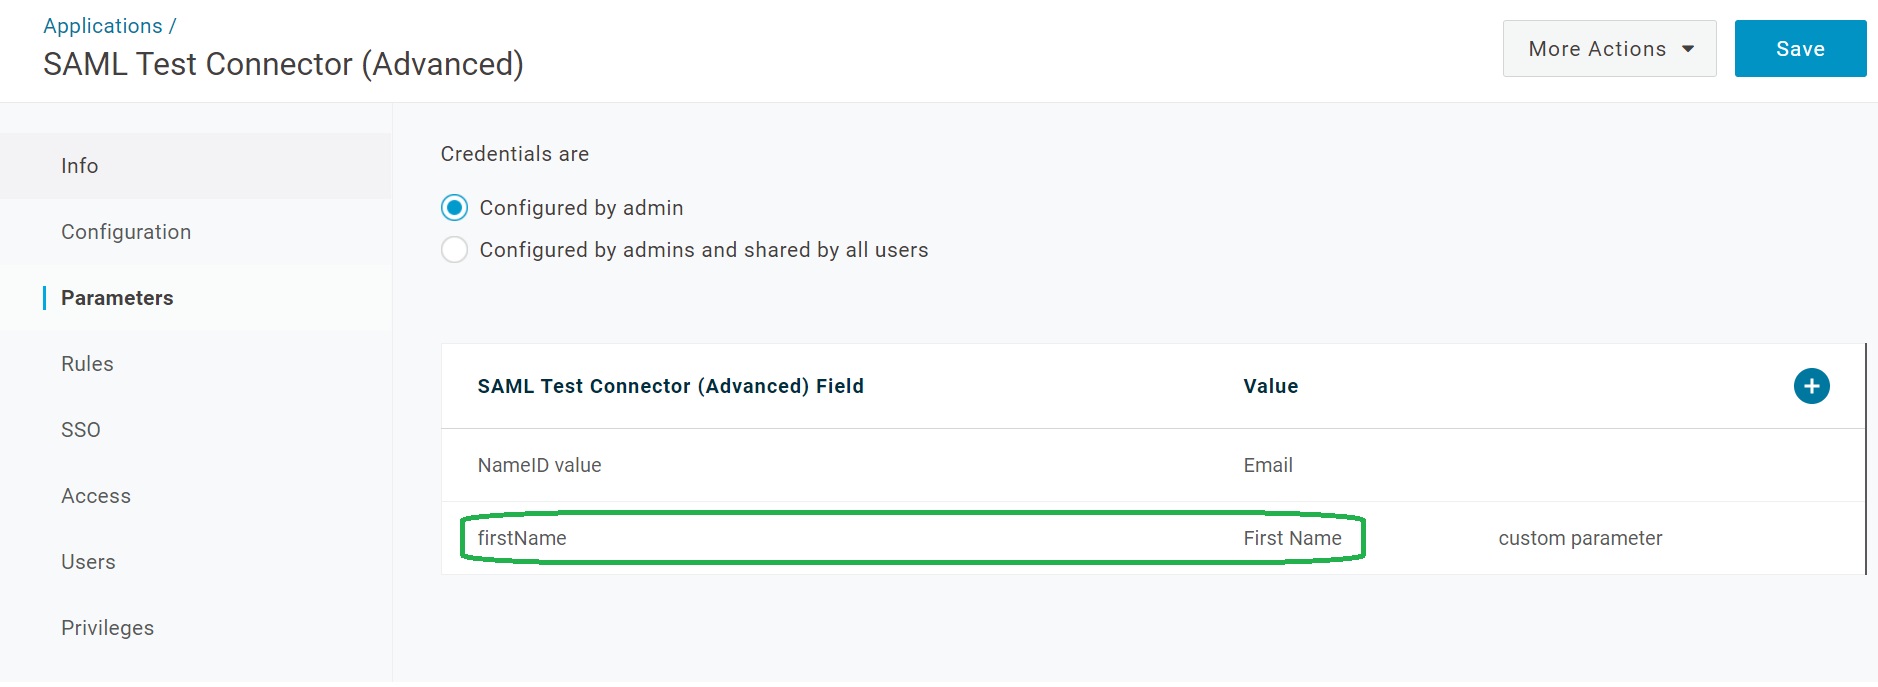
The firstName parameter is added.
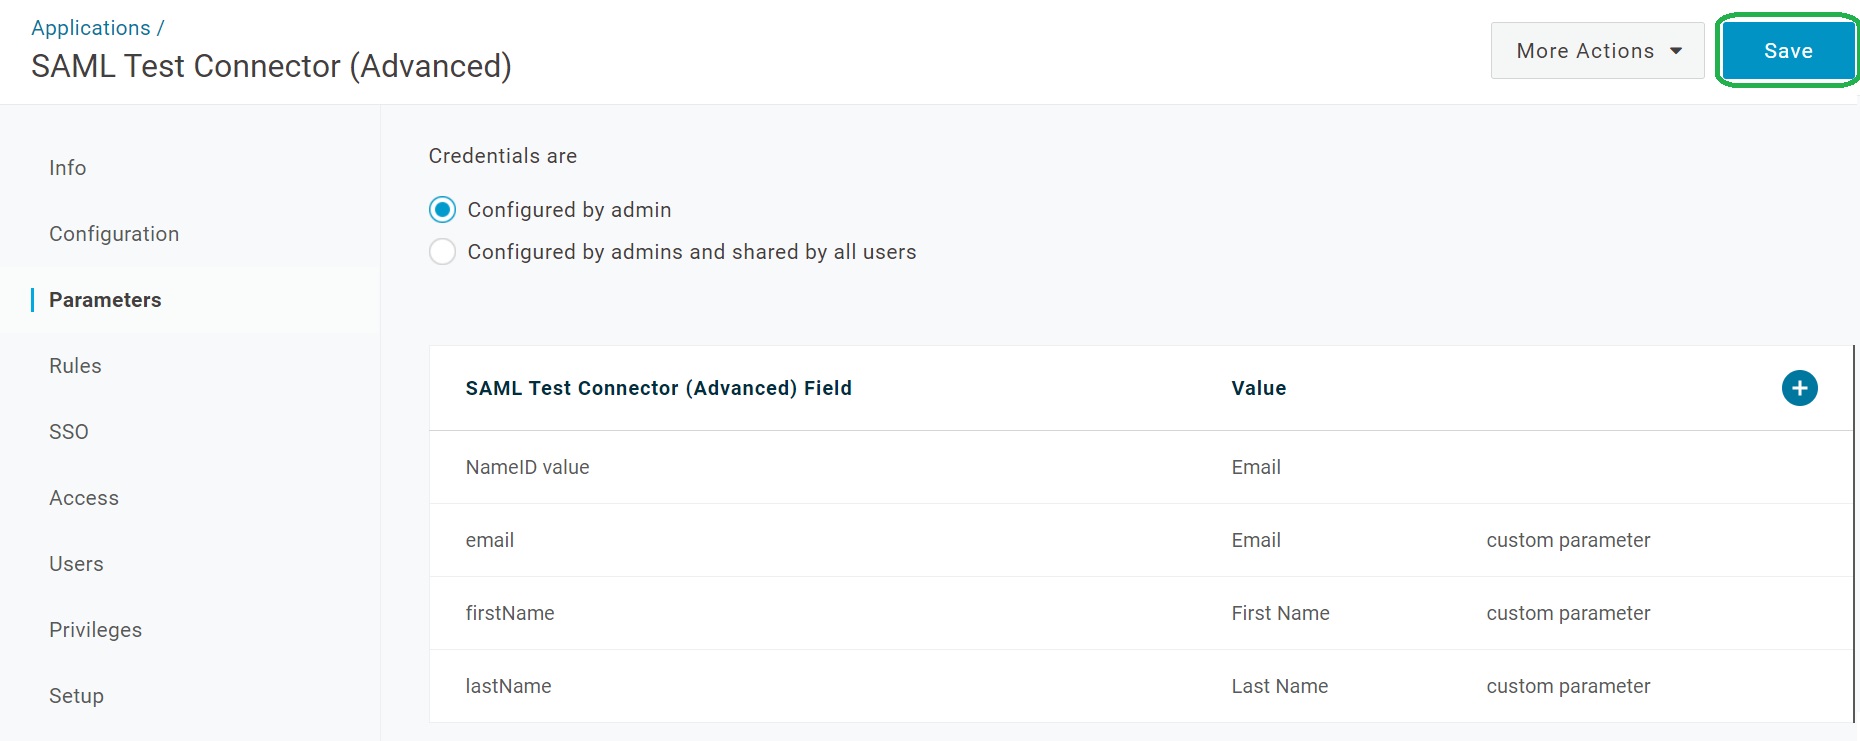
Add lastName from the Last Name value and email from the email value. Do not forget to and save the configuration: click Save.
Keycloak configuration
Open the Keycloak admin page. From the menu click Identity Providers, select your SAML provider from the list of configured providers, open the Mappers tab and click Create.

Select the Mapper Type Attribute Importer.
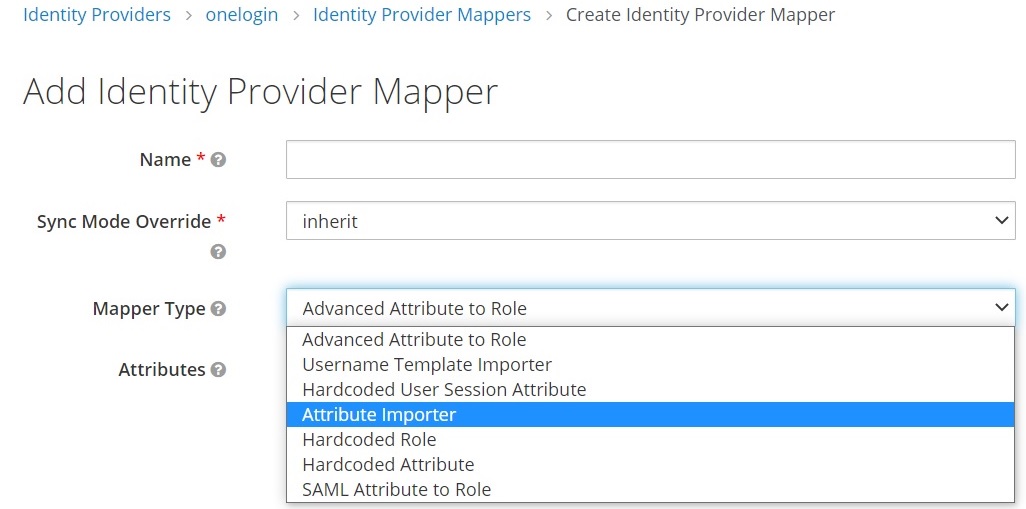
Complete the fields as follows: firstName for Name, Attribute Name, Friendly Name and User Attribute Name.
Important: configure the force value for the Sync Mode Override setting. It will allow to update the user attribute during every login.
Note: Attribute Name is the name of the SAML attribute configured in the Onelogin application. The User Attribute Name is the Keycloak user attribute name. Click Save.
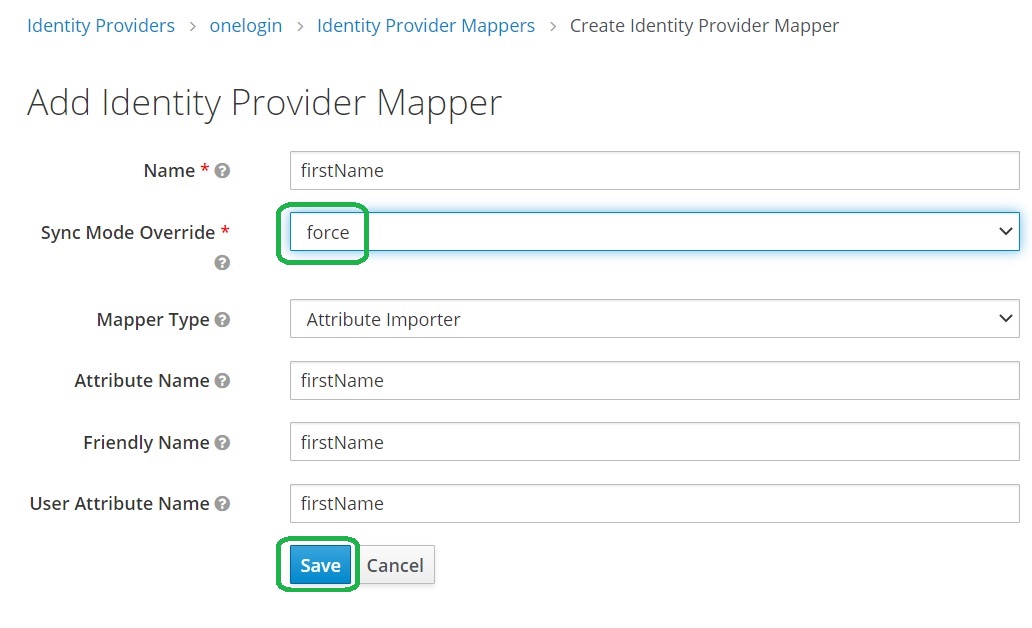
Repeat steps to add a mapper for lastName and email as you did for firstName. Below is an example of the how the mappers should look after they are configured.

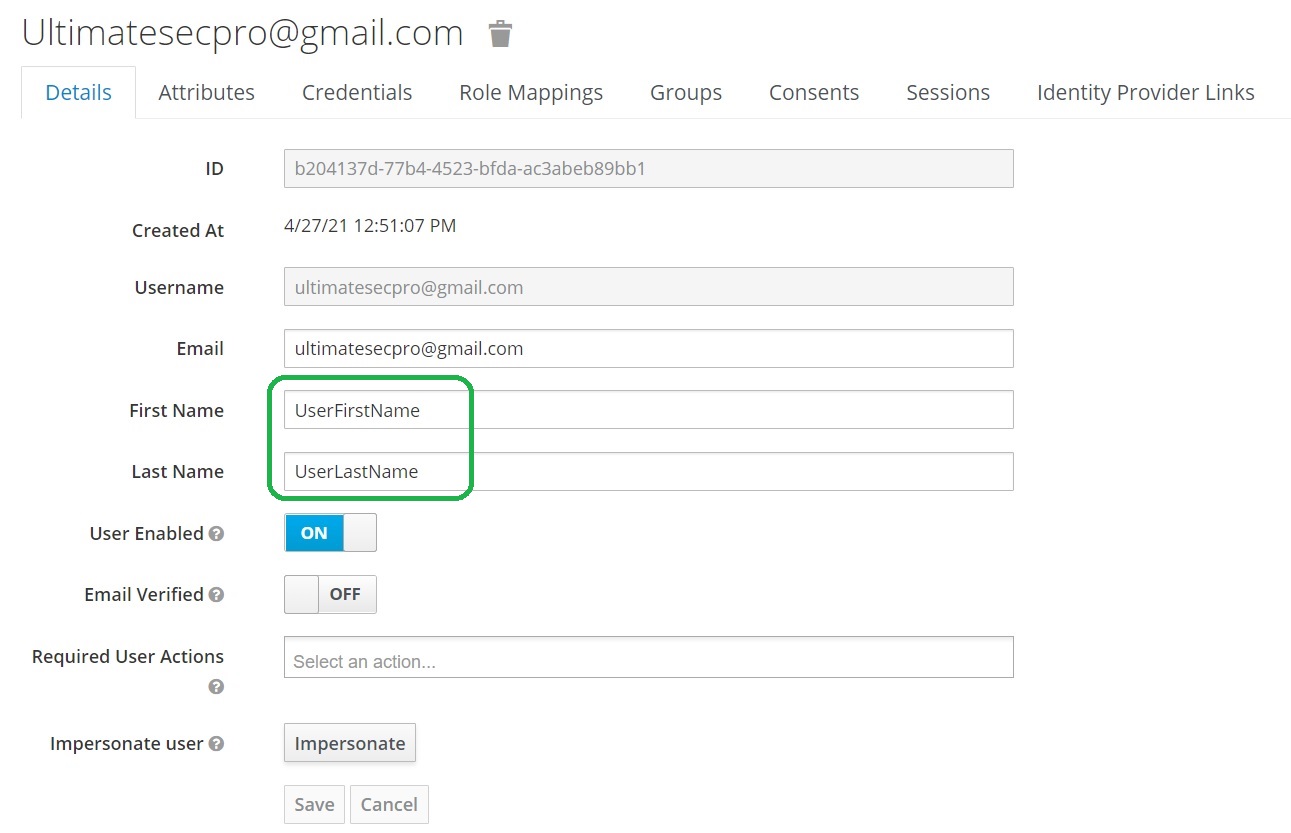
The User Attributes are full
The magic is happens, and the User Attributes are full after Onelogin authentication:
