What will I cover in this post?
We will learn how to configure Two-Factor Authentication with Keycloak WebAuth.
In this post, I plan on:
- Explaining what is WebAuth
- Explaining how to configure WebAuth in Keycloak
Do not forget to follow me on Twitter

What is WebAuth?
WebAuthn is the standard recommended by FIDO Alliance and W3C. WebAuthn defines a standard web API that gives users new methods to securely authenticate. It can be incorporated into browsers and related web platform infrastructure, in the browser, across multiple sites, and on numerous device types.
You can find the WebAuthn presentation in my previous post with the details about WebAuthn.
WebAuthn requires two phases: registration and authentication
WebAuthn registration
The WebAuthn registration has the following steps:
- Application requests registration and sends challenge, user info to a browser
- A browser calls a WebAuthn device (a WebAuthn USB or Key) to create an authentication
- The WebAuthn device creates new authentication PKI Key Pair based on the biometric attestation
- The WebAuthn device stores PKI Key Pair in the device
- The WebAuthn device sends the user Public Key to a browser
- Browser sends the Public Key to application
- The application stores the Public Key associated with the user’s account
(The steps are simplified. For the full description please read my presentation )
WebAuthn authentication
The WebAuthn authentication has the following steps:
- Application requests authentication
- A browser calls a WebAuthn device for authentication
- The WebAuthn device creates an assertion based on the biometric attestation
- The WebAuthn device sends the user Public Key to a browser
- Browser sends the Public Key to application
- The application validates and finalizes authentication
(The steps are simplified. For the full description please read my presentation )
WebAuth in Keycloak
Keycloak has added WebAuth in 8.0.0 and has enhanced the feature in 9.0.0
How to to configure WebAuth?
In order to configure WebAuth in Keycloak You will need to configure the following:
- To add Webauthn Register as Required Action for the WebAuth registration
- To add WebAuthn Authentication to a Browser Flow for the WebAuth authentication
- To set WebAuthn Browser flow as the default Browser Flow binding
Adding Webauthn Register as Required Action
Open the Authentication tab and then open the Required Actions tab:
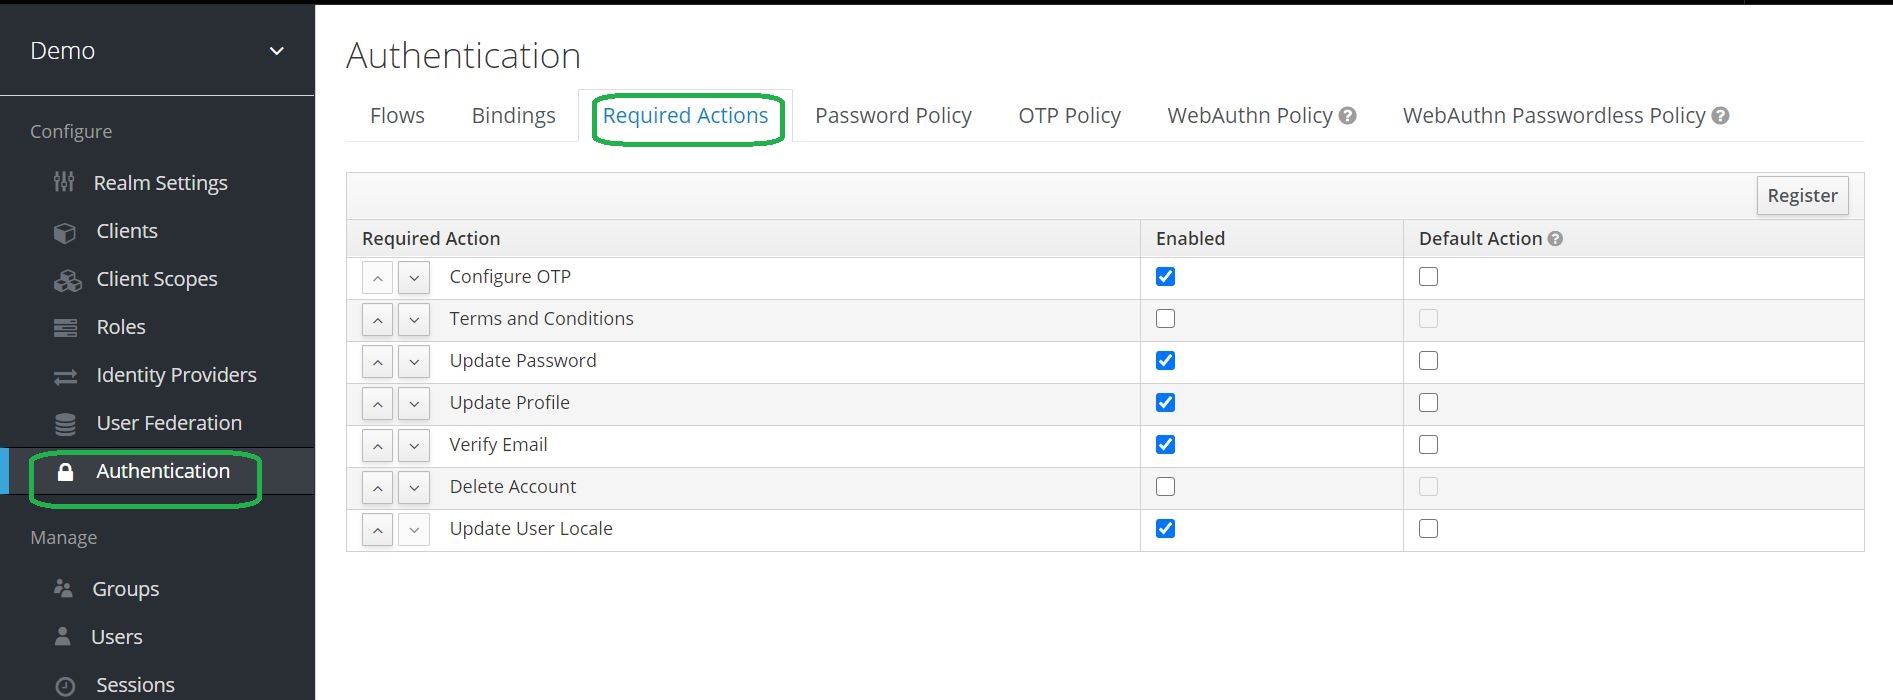
Click on the Register button:

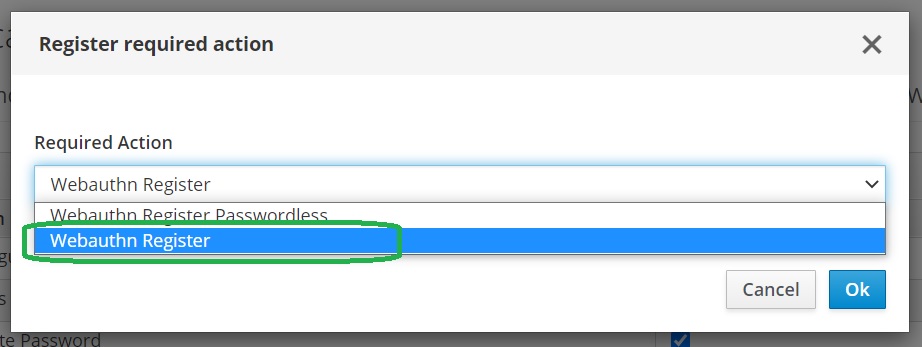
Select Webauthn Register and click Ok:
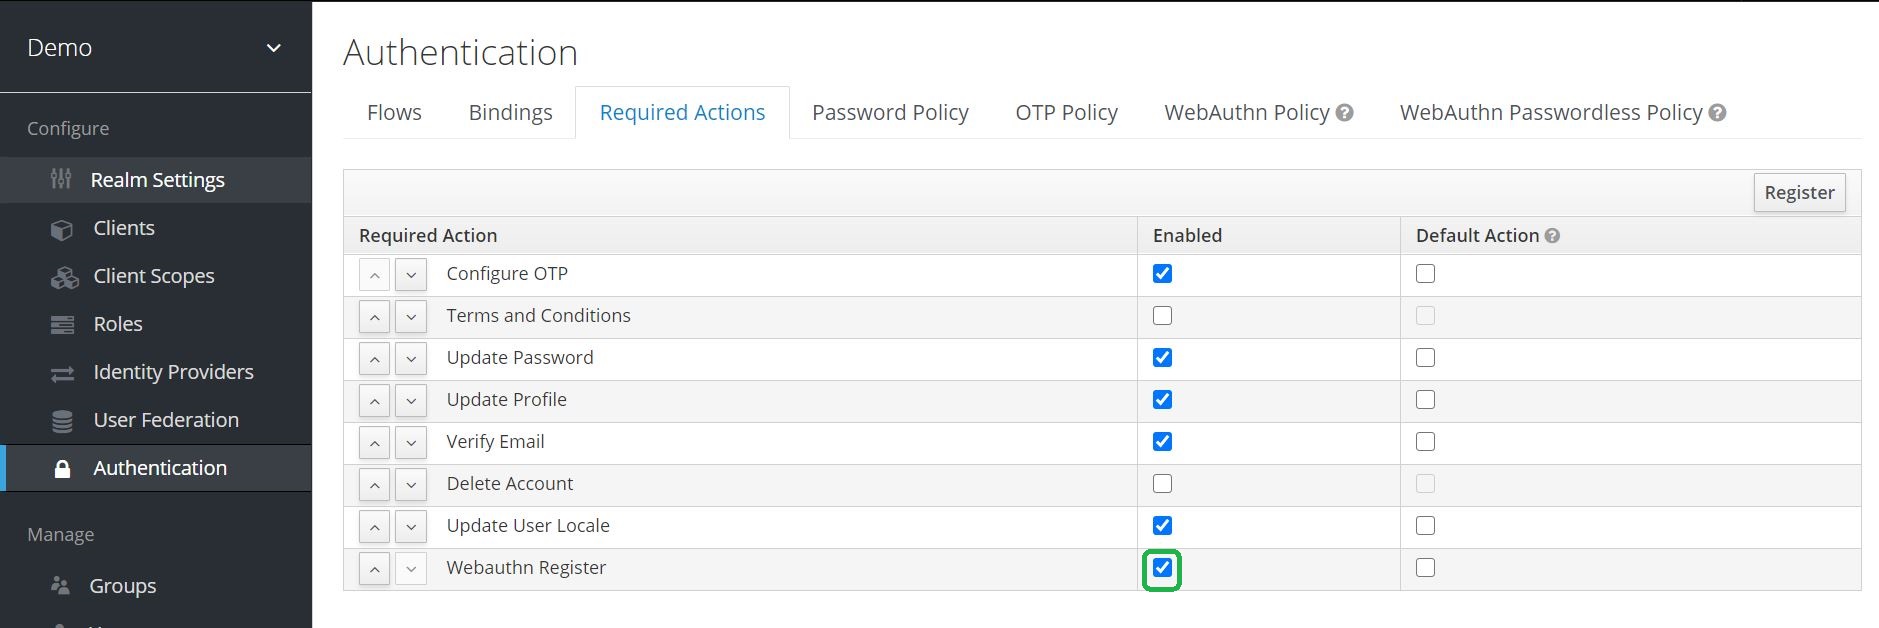
Ensure Enabled checkbox is checked:
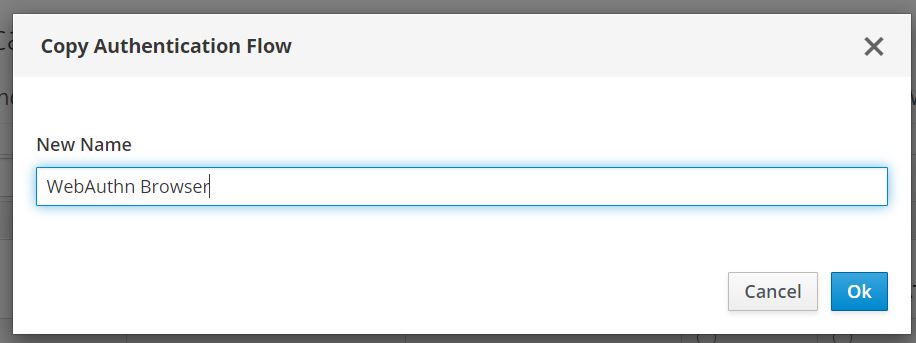
Adding Webauthn Authentication to a Browser Flow
Open the Authentication tab and then open the Flows tab:

Click on the Copy button (ensure the Browser flow is selected):

Copy the Browser flow and name it WebAuthn Browser:
Select the WebAuthn Browser flow:

Delete the WebAuthn Browser Browser - Conditional OTP from the Actions menu:

Click on the Actions menu of the WebAuthn Browser Forms, and them click on Add execution:

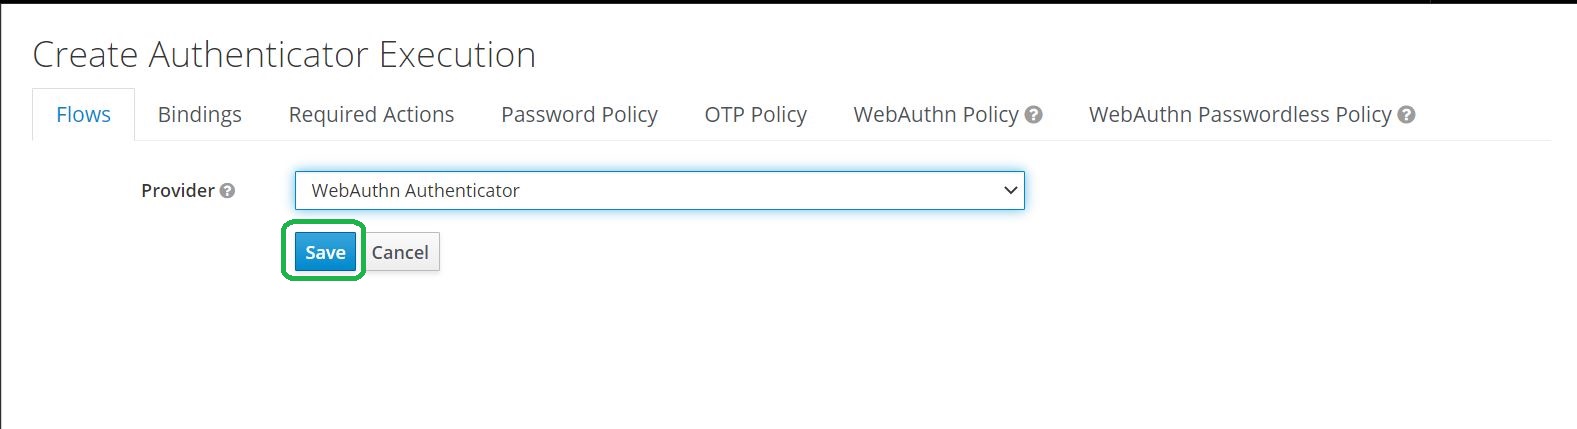
Select WebAuthn Authenticator:

Click on Save:
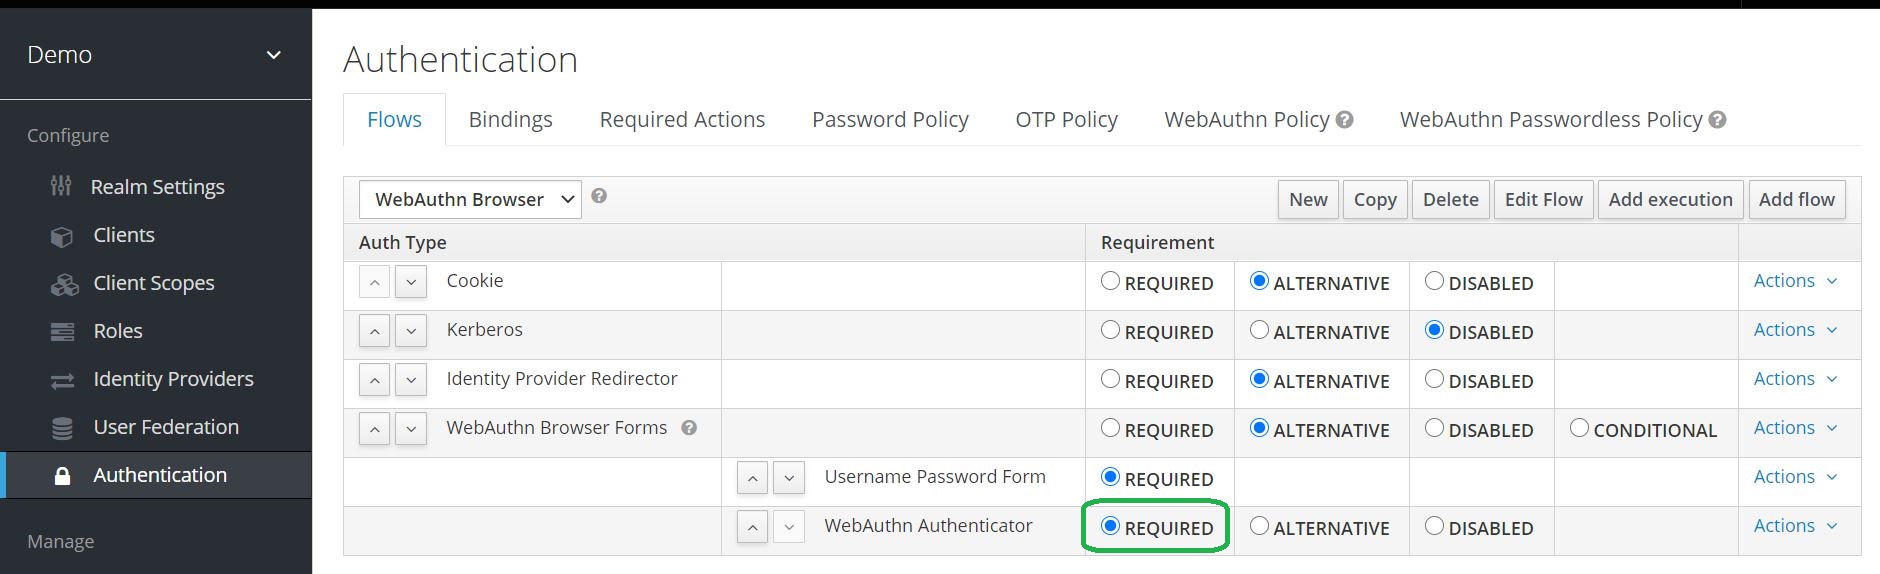
Set the Requirement of WebAuthn Authenticator to Required.
Setting the default Browser Flow binding
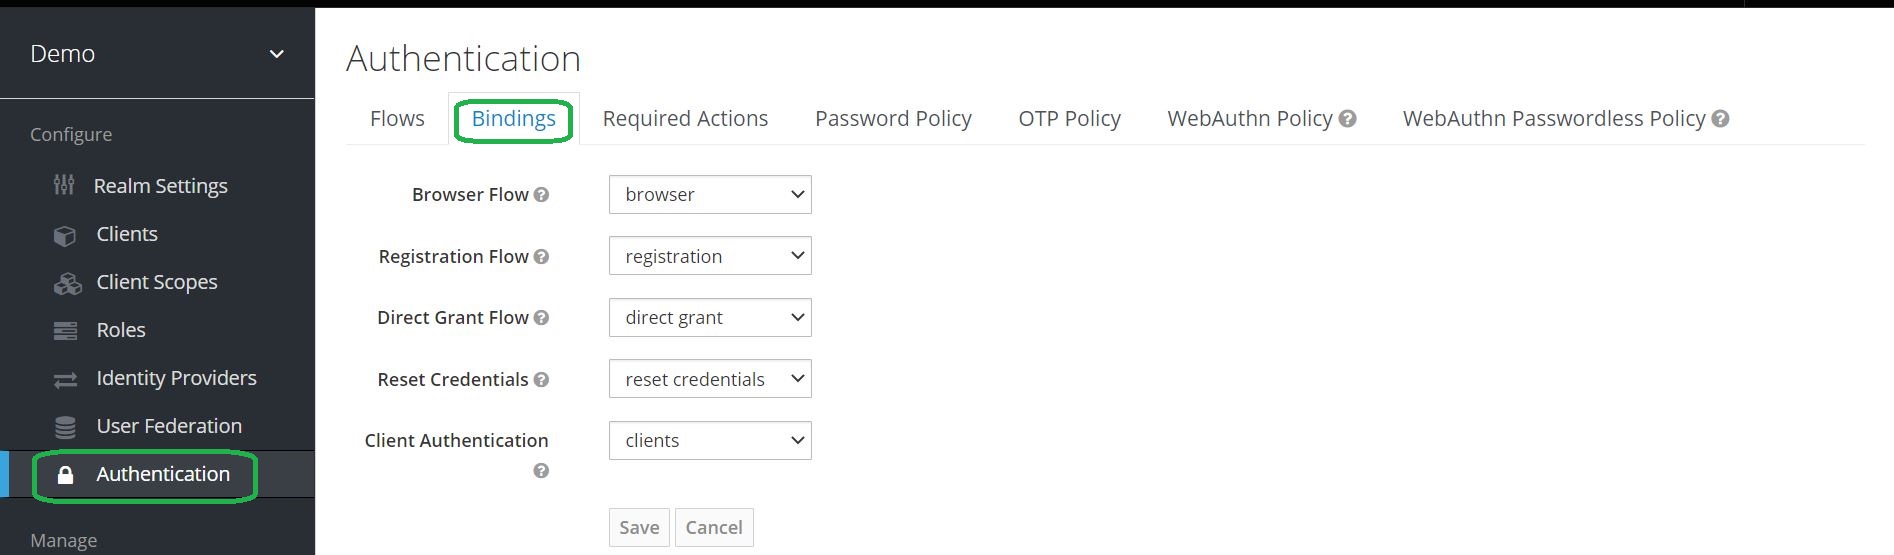
Open the Authentication tab and then open the Bindings tab:
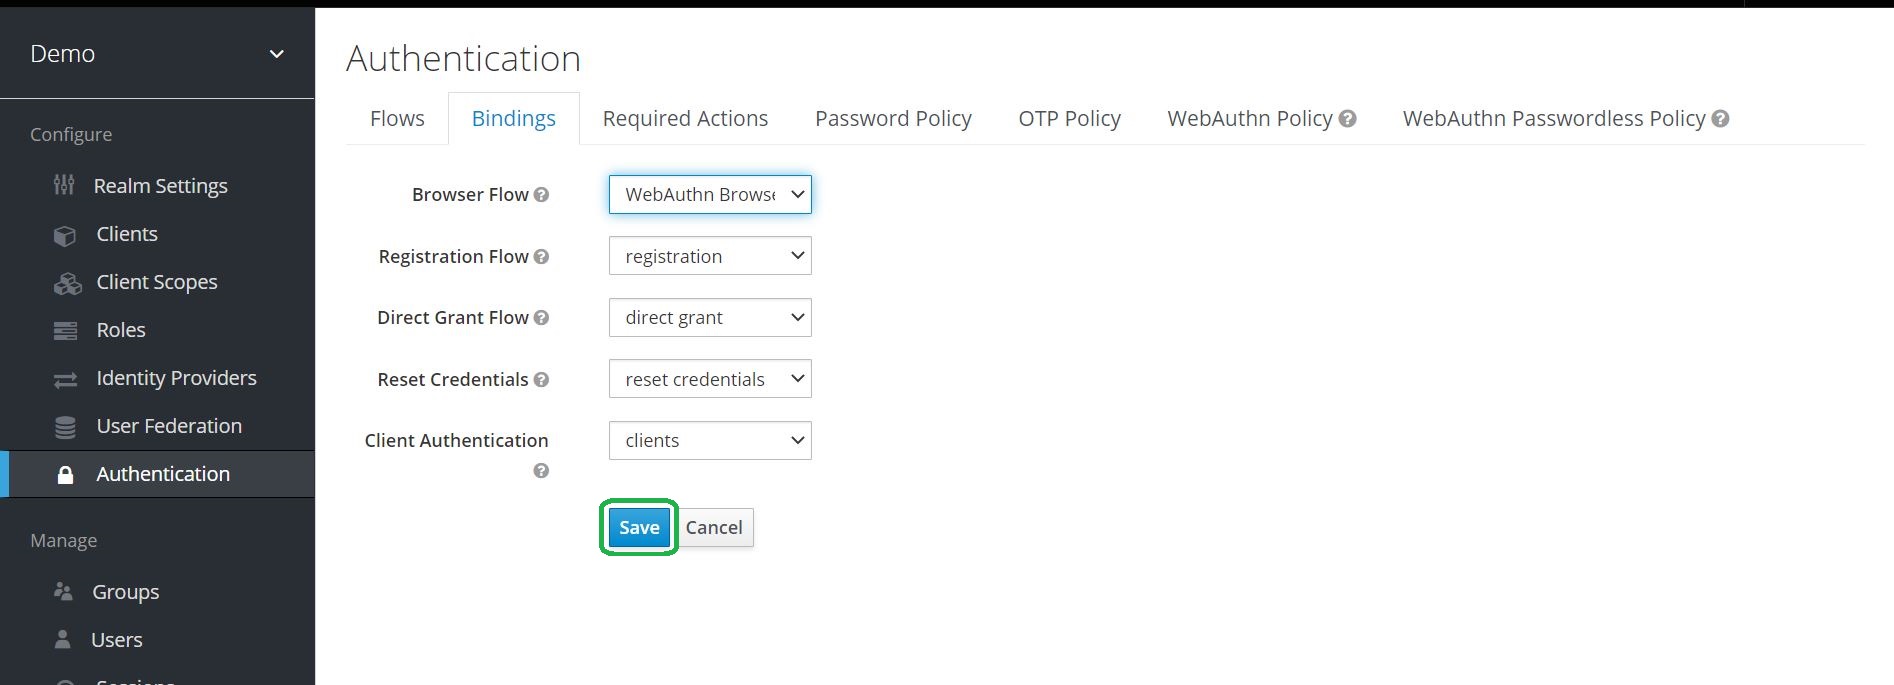
Select the WebAuthn Browser flow:

Click Save:
WebAuth in the actions
You have configured WebAuth, let’s login.
WebAuth registration
During the first login after providing a password credentials a user will need to perform the WebAuthn registration:
WebAuth authentication
During the next logins after providing a password credentials a user will need to perform the WebAuthn authentication:
Congratulations!
Congratulations! You successfully configured Two-Factor Authentication with Keycloak WebAuth!
Take-aways
You should now have a knowledge of what is WebAuth and how to configure it in Keycloak