What will I cover in this post?
We will learn how to integrate Keycloak with Okta OIDC Provider.
Similar to SAML, Keycloak can be configured to use the external OpenID Connect Provider.
The configuration steps are very similar to the configuration of SAML Provider described in my previous post, but the configuration simpler that the SAML configuration.
Do not forget to follow me on Twitter

Configuration
Keycloak and Okta need to be configured in parallel.
First, you need to add an OpenID Connect Identity Provider in Keycloak.
Then you to add an OpenID Connect application in Okta using the Keycloak Redirect URI value.
Finally, you need to configure the Okta application metadata in the Keycloak’s OpenID Connect Identity Provider.
Add OpenID Connect Provider in Keycloak
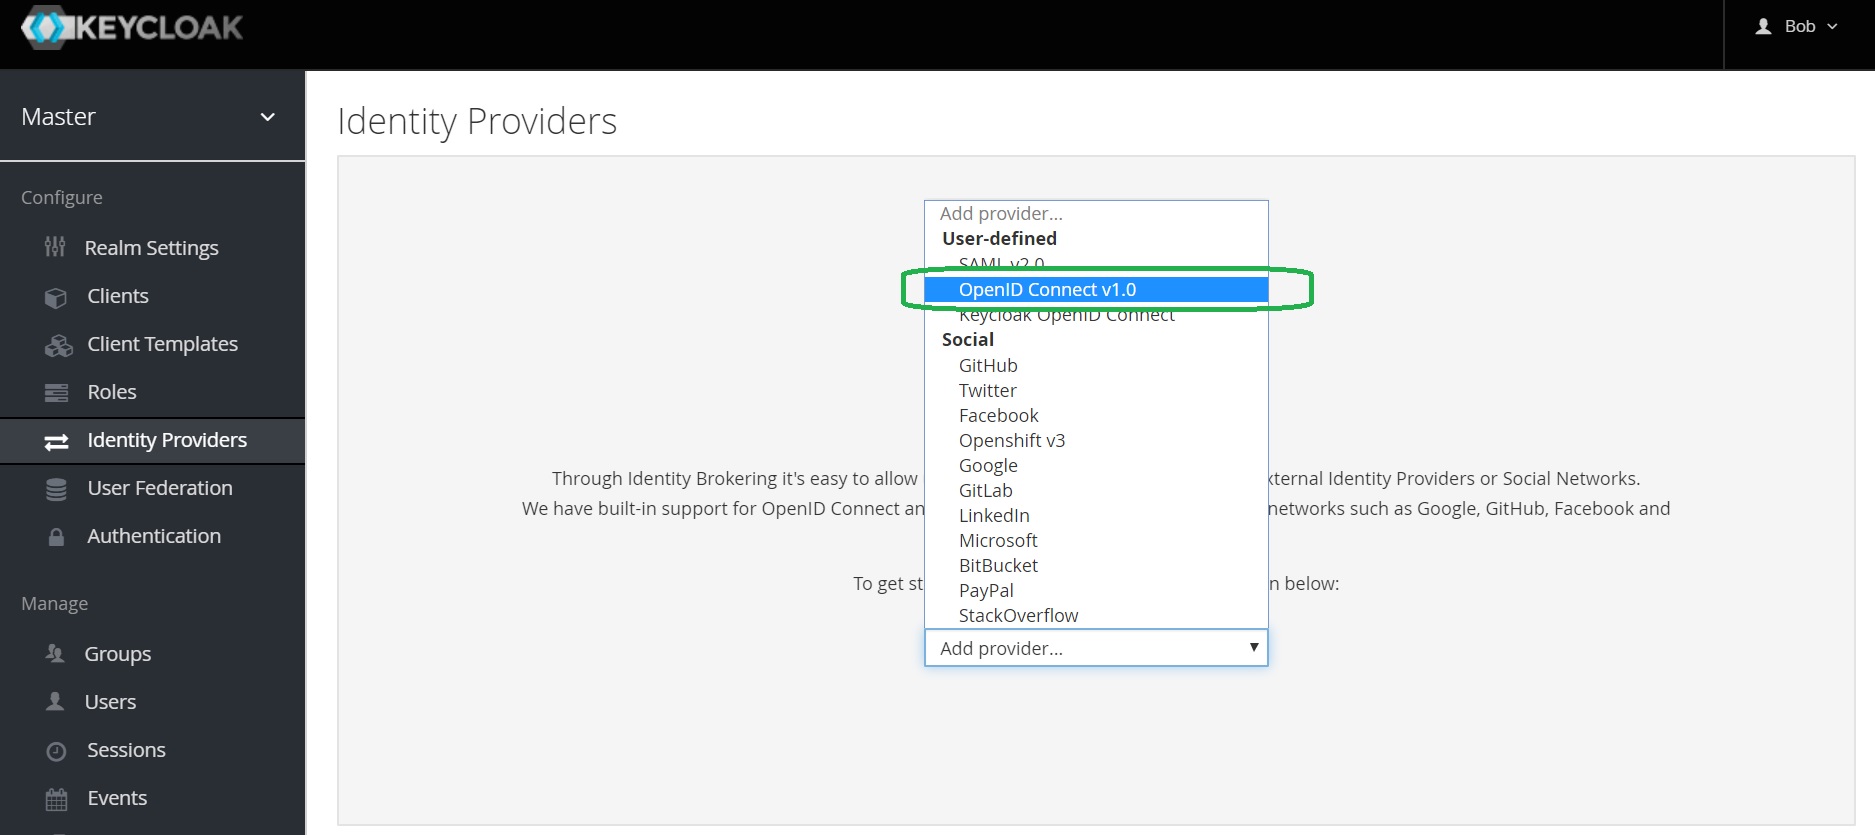
Open Keycloak admin page, open Identity Providers, select the OpenID Connect v1.0 provider from the list of providers.
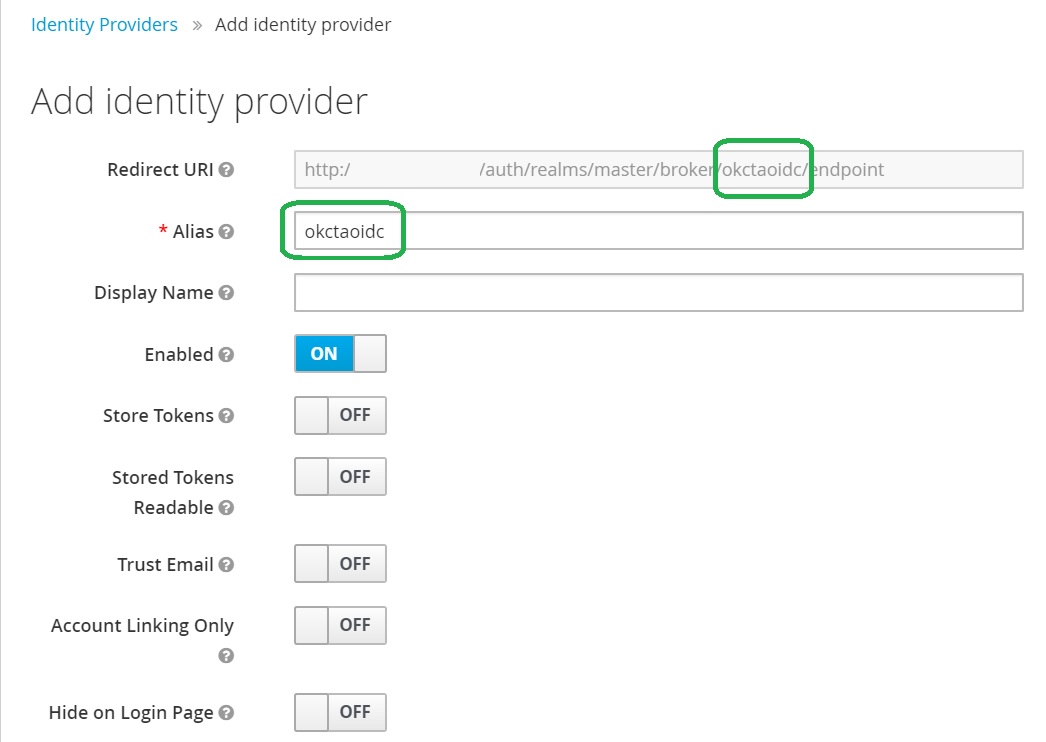
Configure OpenID Connect Provider in Keycloak
Provide the alias. Note that it is part of Redirect URI.
Add an OpenID Connect Application in Okta
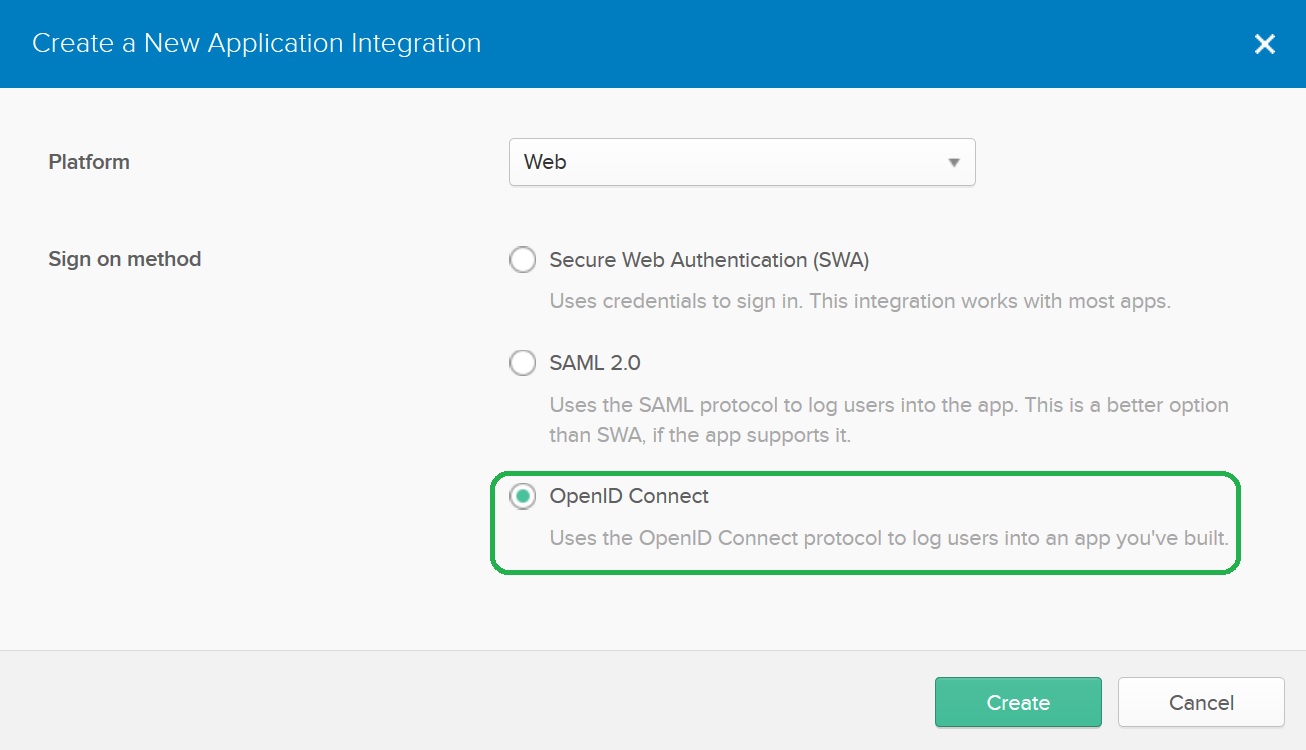
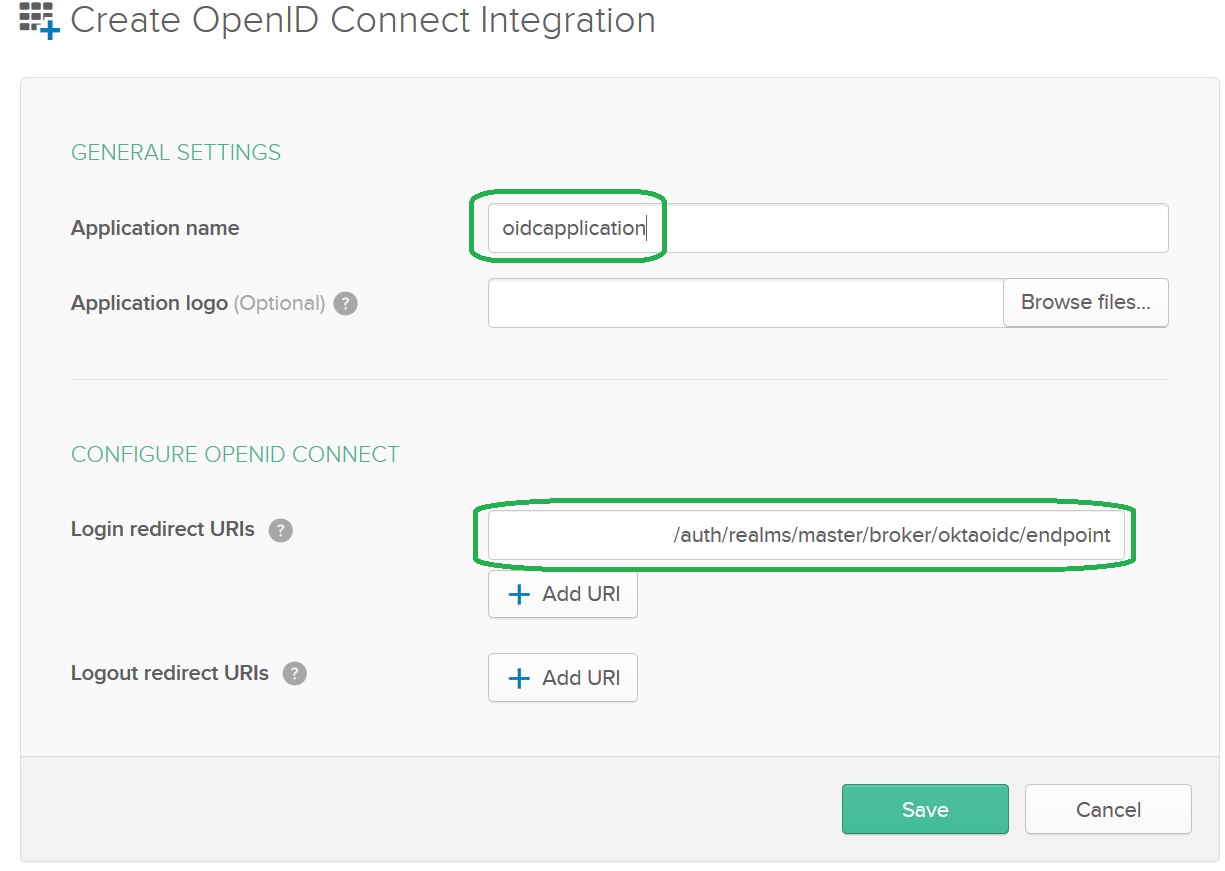
Configure the OpenID Connect Application
Provide the application name, copy Keycloak’s Redirect URI to the Login redirect URIs setting and press Save.
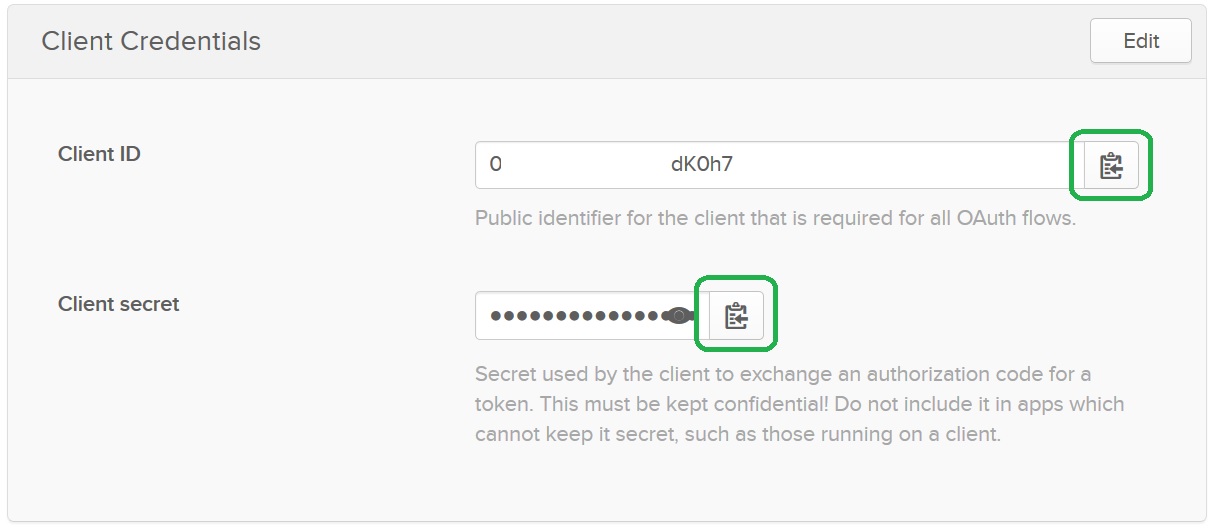
The OpenID Connect Application Client Credentials
Upon the save of the application Okta will generate Client Credentials: Client ID and Client Secret. You can access the information on the bottom of the General tab. Copy Client ID and Client Secret to the Keycloak provider:
Okta OpenID Connect Application Endpoints
To get Okta OpenID Connect Application Endpoints you need to access the Okta well-known configuration at the following URL:
https://<Okta account URL>/oauth2/default/.well-known/openid-configuration?client_id=<Application Client ID>
Replace <Okta account URL> with your actual account URL and the <Application Client ID> with the Application Client ID.
Grab authorization_endpoint, token_endpoint and (optionally) end_session_endpoint. You will need to copy the information to the Keycloak provider:

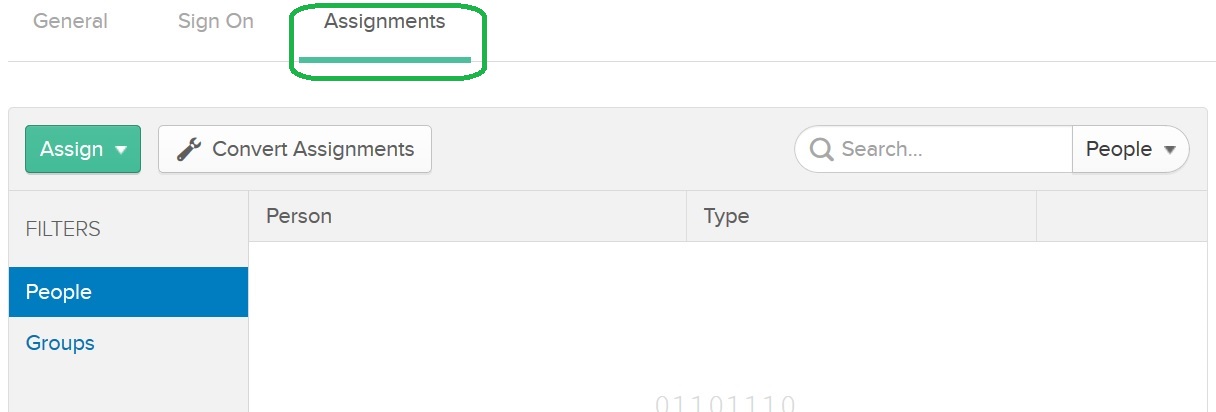
Do not forget to assign users to the Okta OpenID Connect Application
Do not forget to assign users to the Okta OpenID Connect Application in the Assignments tab:
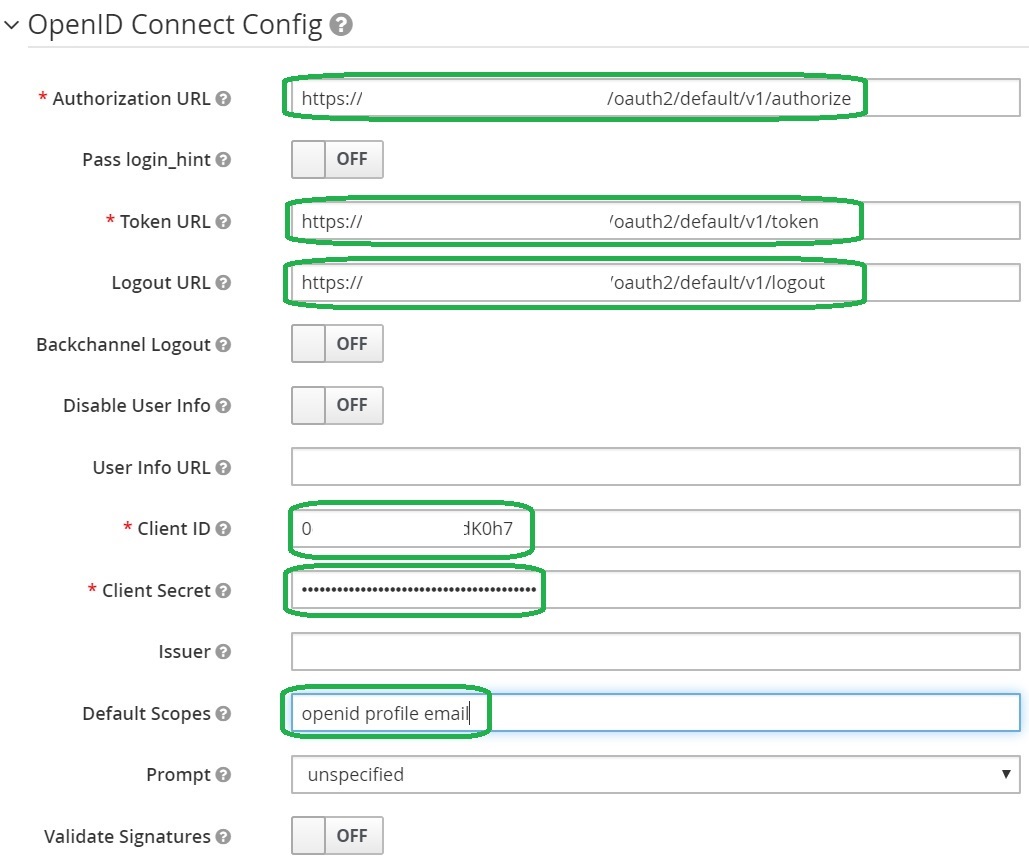
Configure the OpenID Connect Application metadata in the Keycloak provider
Copy authorization_endpoint, token_endpoint and (optionally) end_session_endpoint to the Keycloak provider configuration. Then, copy Client ID and Client Secret.
Set the following Default Scopes: openid profile email.
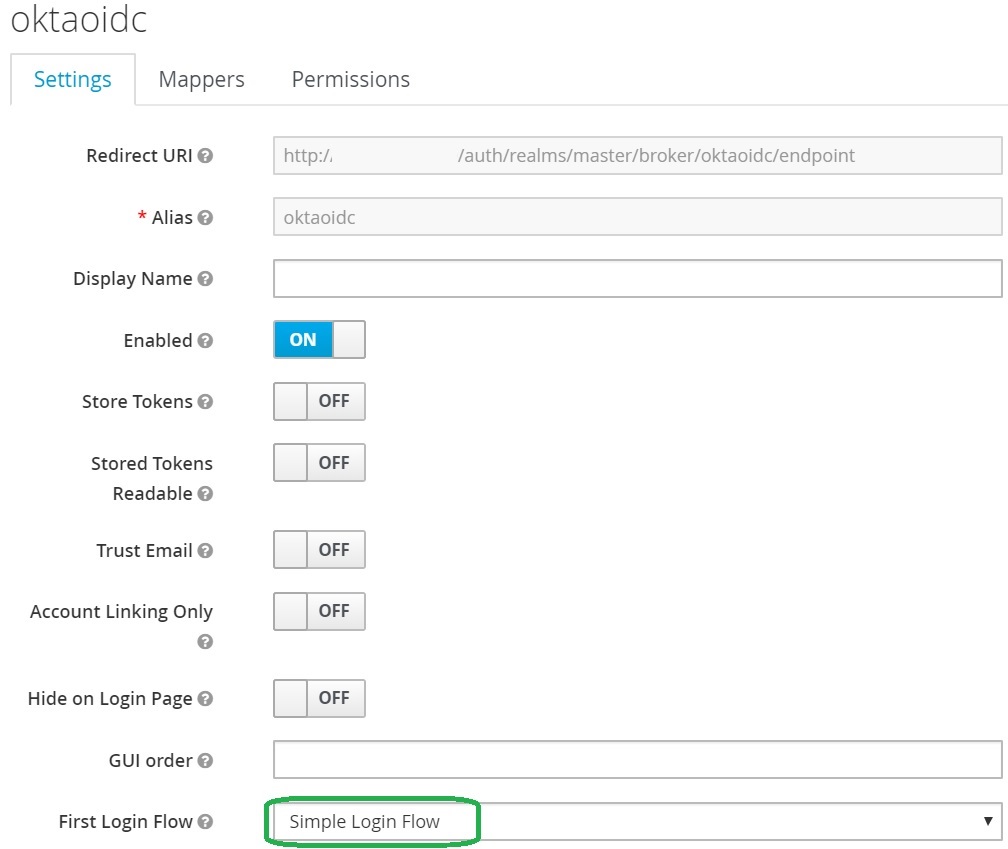
Configure First Login Flow
Same as in the SAML provider, lets configure Simple Keycloak First Login Flow described in the previous post
Let’s configure the flow and then save the provider configuration:
Login using Okta OpenID Connect
You open the login page and you will surprise! We have the additional button that allows us to login to Keycloak using Okta OpenID Connect provider:
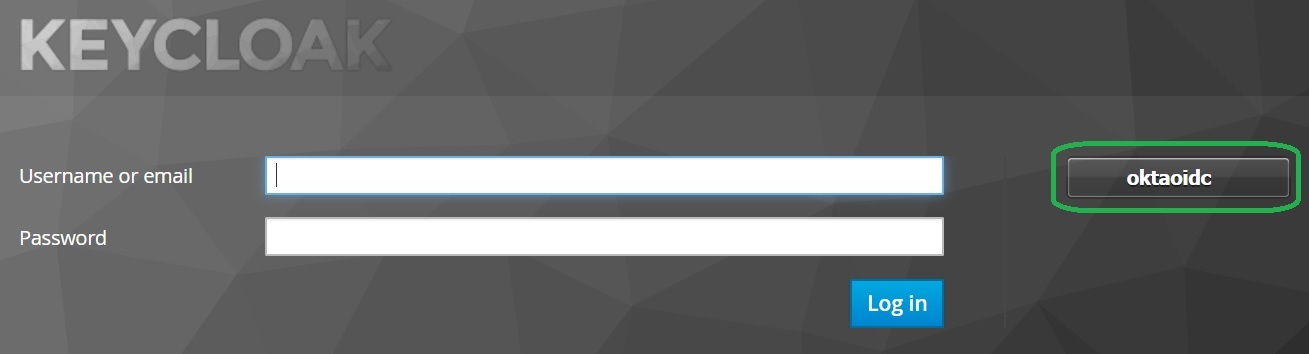
Note that you can configure Display Name in the provider configuration and to set more friendly name.
Click on the button and you will be redirected to the Okta for the authentication.
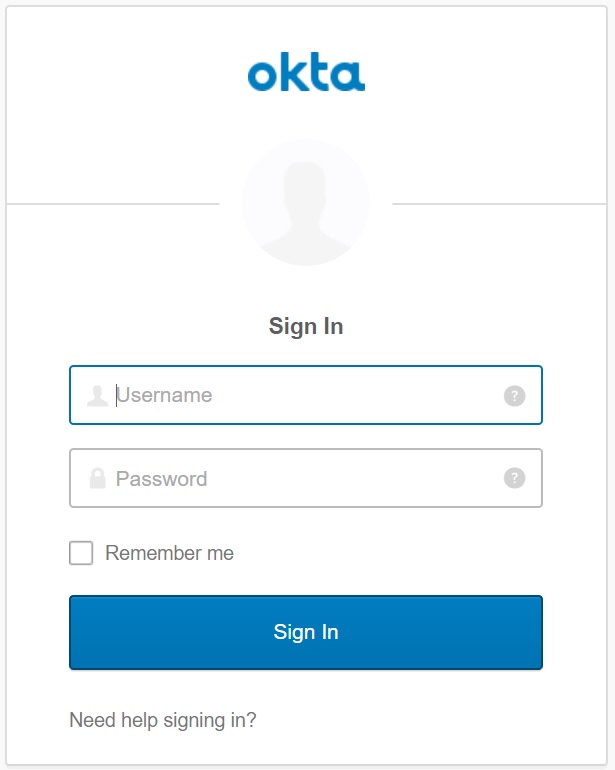
After the successful authentication you will be redirected back to Keycloak.
Enjoy Okta OpenID Connect integration
Take-aways
You know how to integrate Keycloak with Okta OIDC Provider